Wikis can provide a convenient resource for your courses, collecting documents, images, links, and other information relevant to your lessons and activities. Wikis are collaborative, meaning that everyone can add content to the resource. In this article, we’ll show you how to create a wiki in Moodle 3.
Head to Dashboard > Course Name. Click Settings and select Turn editing on.
Click Add an activity or resource next to the section in which you wish to place the wiki.
Select Wiki from the list of activities available and then click the Add button.
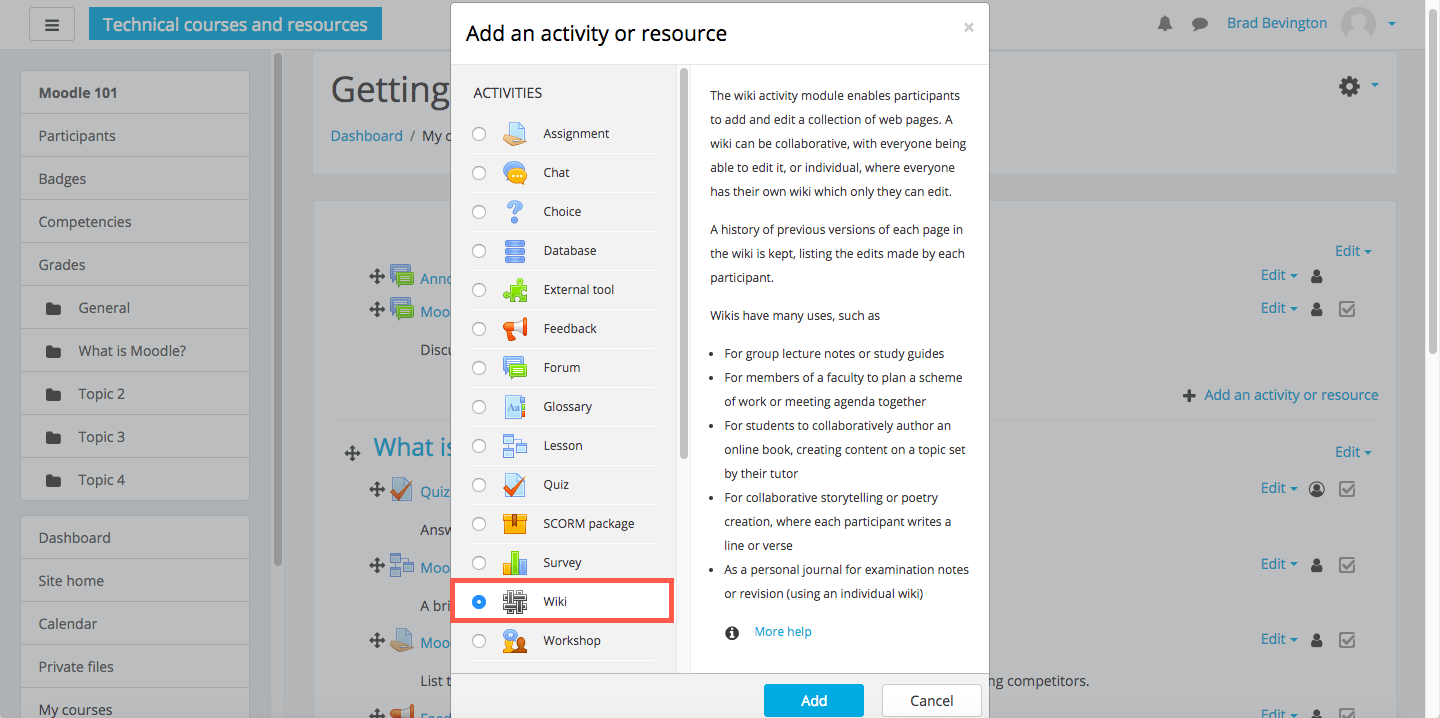
Complete the form, providing a name and description for the wiki.

Work through the wiki settings, or simply save the wiki and come back to the settings later.
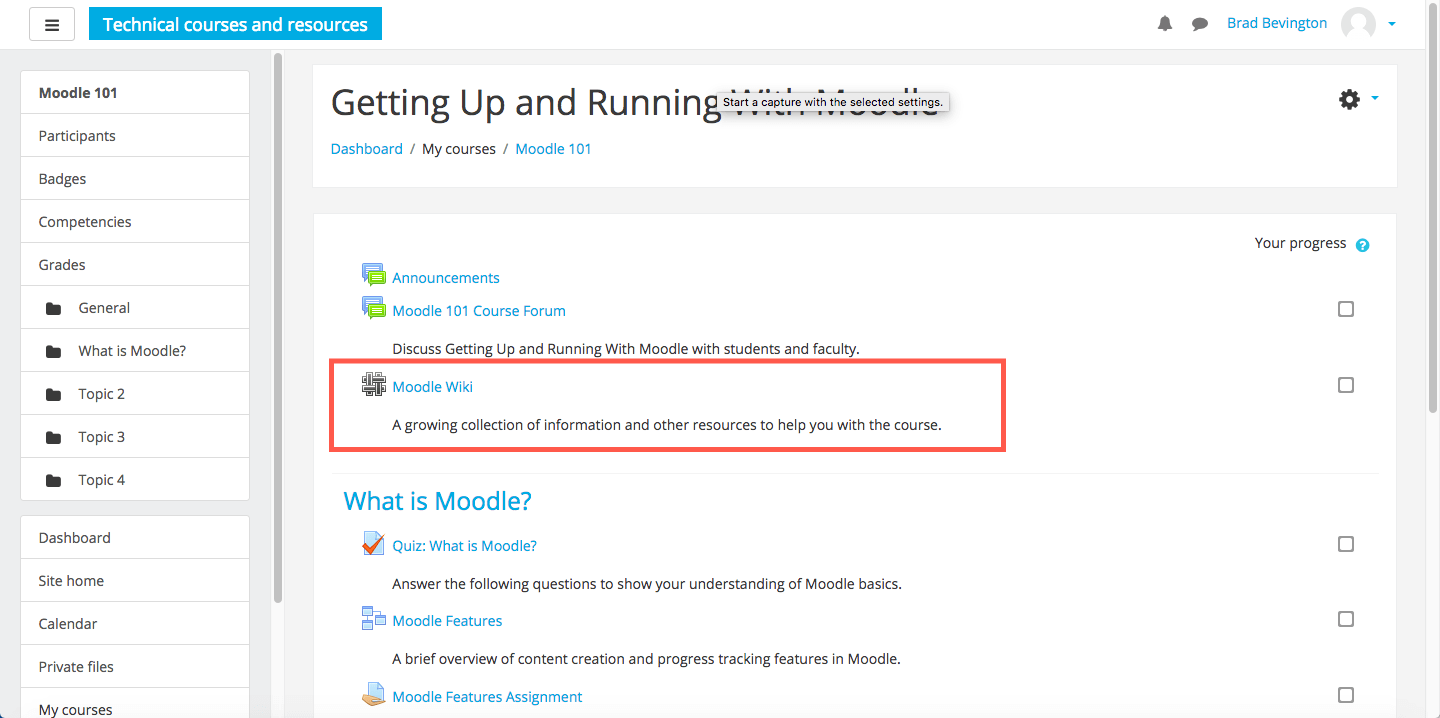
Once saved, select Settings, then click Turn editing off.
Click your Wiki title to begin adding pages.
If you need help with your HostPapa account, please open a support ticket from your dashboard.
